

I started the school year off by creating a series of school book which includes; “Let’s Get Ready for School!”, “What’s on the Desk?”, and “Pack Up the Backpack!” Previously, I talked about the other 2 books so I thought I would share how I set up and used the book “Pack Up the Backpack.”
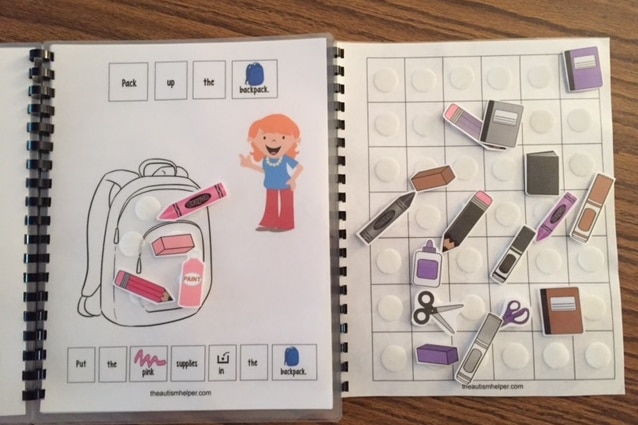
“Pack up the Backpack” focuses on identifying a variety of school supply items and color concepts. To set up the book, I placed six hard Velcro dots on each backpack. I didn’t want to make it easy for the students by placing only the corresponding numbers of dots on the backpack as items. Each backpack will have anywhere from 3-6 objects on it but every backpack will have 6 dots so the students cannot rely on the Velcro dots to determine when to stop adding the school supplies onto the backpack. I know there are a lot of school supplies but I cut out all the school supplies and placed them randomly on the grid page attached to the right side of the book.
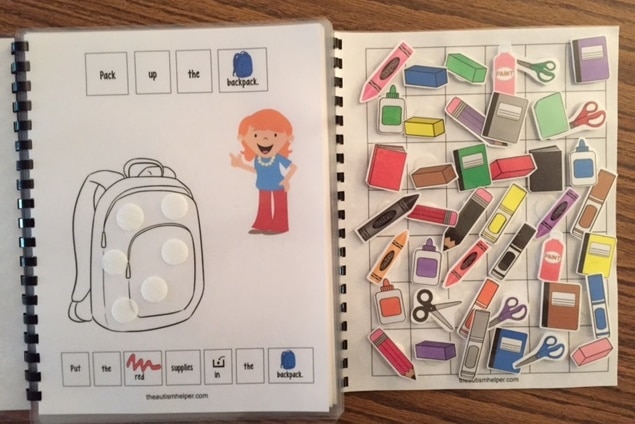
I point to each box as I read the words. After I read put the “red” supplies in the backpack I see if the student can scan the pictures to find the red school supplies and start adding them into the backpack. If the student needs some additional prompting then I point to the school supply items on the grid page and name the colors. When I get to the red object I say “red notebook…red in the backpack”. I make sure I model both the color and the correct school supply term multiple times while reading the book.
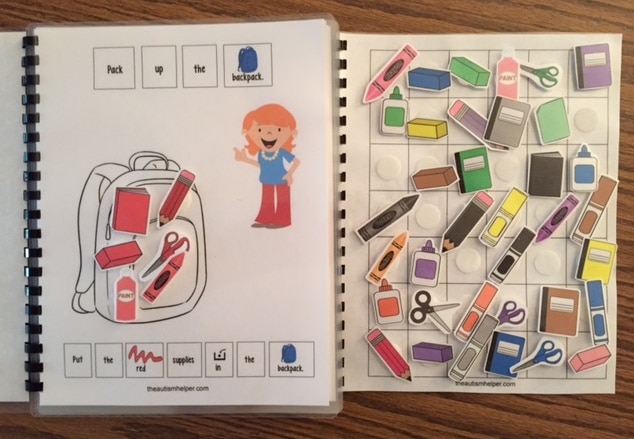
I also like to include counting into this book activity. After the student places all the school supply items on the backpack I have the student count the number of items. For example; “How many orange items in the backpack? Let’s count!” If the student can count independently I have him/her count the items and tell me the correct number. If the student needs help we touch each item as we count together. “One, Two, Three….Three Orange items in the backpack!”
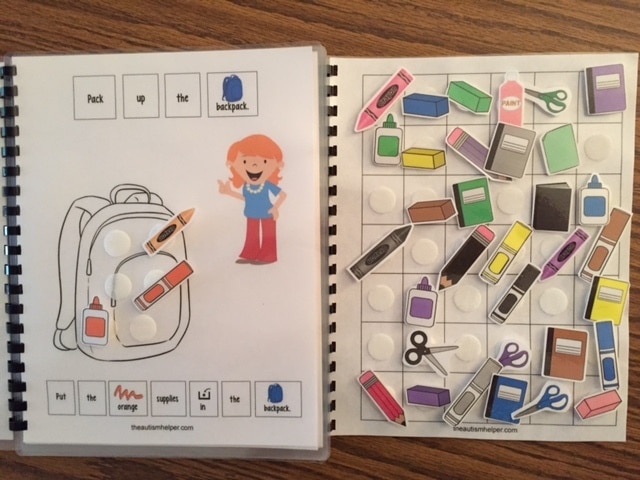
To make the book more challenging you can have the student work on identifying objects by function. For example, on the green page I may give the following descriptions – “Find what you use to cut paper with”, “Find what is sticky”, “Find what you write on with a pencil” or “Find what you use to erase a mistake with”. If you are using the book with a small group of students I sometimes have the students give each other descriptions of the items. This has been working out really well with my small groups of higher functioning students.
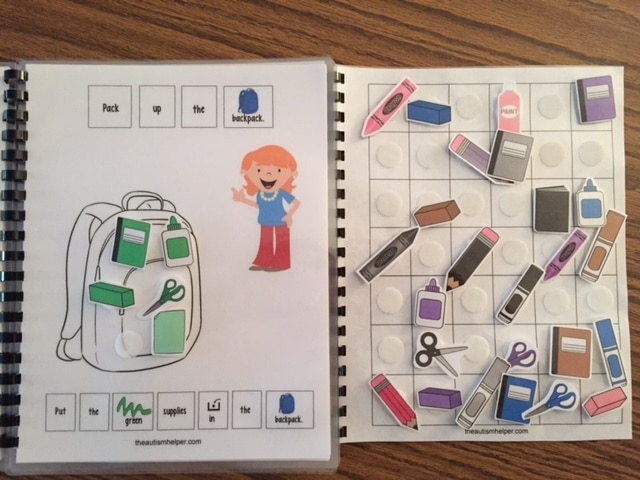
I know there are a lot of school supplies to cut out with this book but my students have been having fun finding all the different color items to place in the backpack. If you have time at the end you can always have your student draw a picture of one of the school supplies using his/her favorite color!


- Vehicle Themed File Folder Activities - May 18, 2021
- Counting and Sorting Vehicle Fun - May 4, 2021
- What Color is the Vehicle? Adapted Book and Free Vehicle Themed Bingo Games - April 20, 2021

2 Responses
I bought and put together the books but it looks like I put the grid on the wrong side. Did you just bind on both sides of the last page? I was trying to visualize it when I was putting it together and thought that maybe it was on the back of the book. Please explain. Thanks!
Kimberly
Sorry it was confusing. You attach the grid page to the right side of the last page in the book which is the “black supplies” page. Meaning all the pages bind together on the left side except the grid page you bind to the right side so you can unfold it and use that page while you read the book. Let me know if that helps clarify it.
Sarah – The Speech Helper